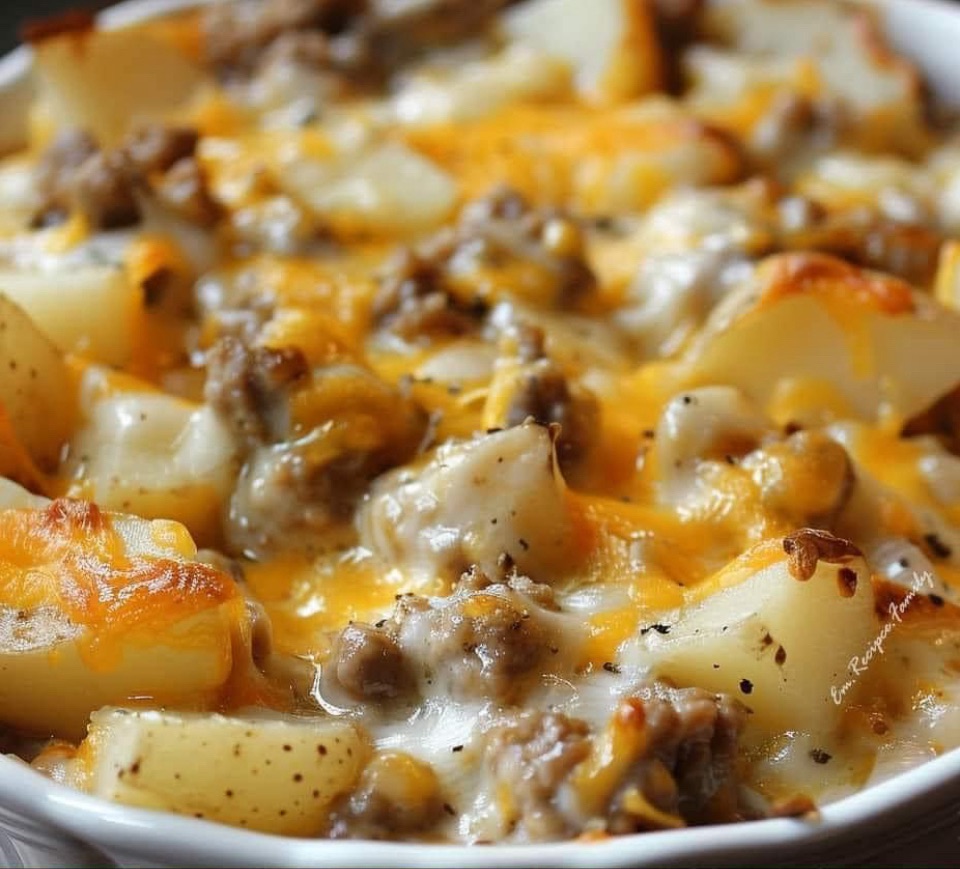
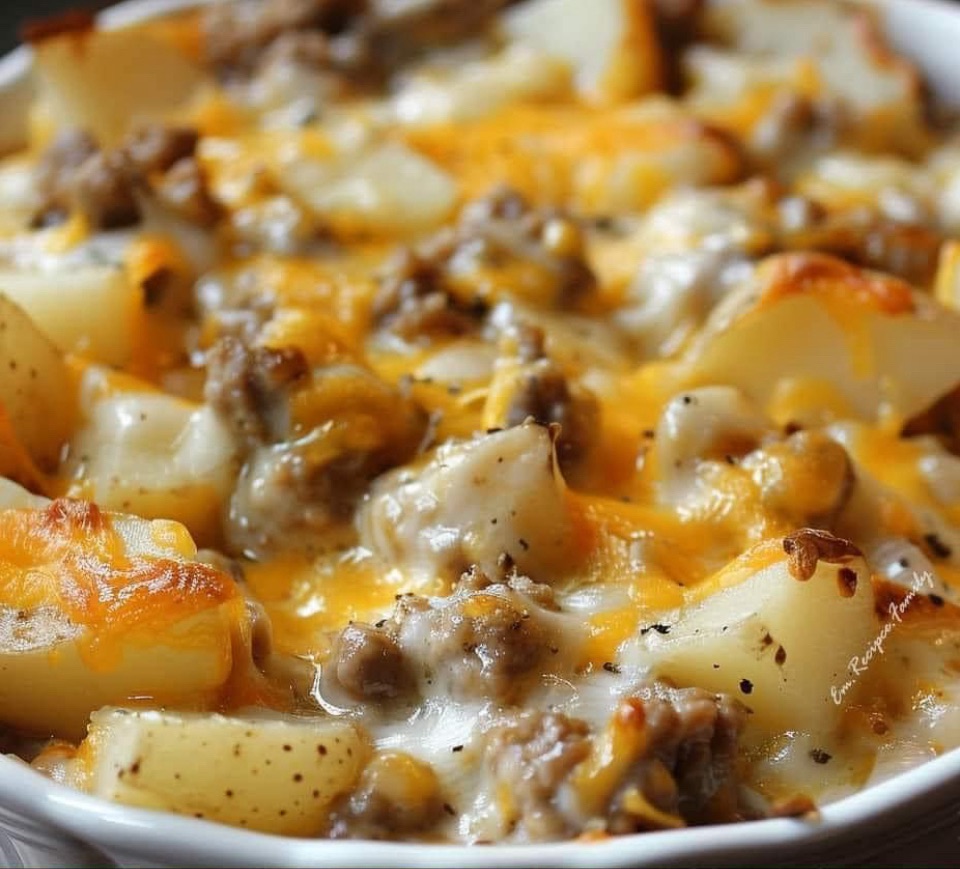
Hobo Casserole


Ingredients
1 lb Lean Ground Beef or Ground Turkey
Salt and Pepper to taste
1 Small Yellow Onion diced
4 Medium Russet Potatoes peeled and sliced
8 oz Cheddar Cheese grated
1 10oz Can Cream of Chicken Soup
1 10oz Can Cream of Potato Soup
1 teaspoon Worcestershire Sauce
¼ Cup Milk
1 teaspoon Creole Seasoning
⅓ Cup Crispy French Fried Onions


Instructions
Preheat the oven to 350°F.
Add the ground beef to a 10″ Cast Iron black Skillet (or a small casserole dish), and press down.


Season with salt and pepper to taste.


Sprinkle with diced onions.
Lay the sliced potatoes over the top in an even layer.


Sprinkle the cheese over the top of the potatoes, evenly.
In a medium mixing bowl, add the chicken soup, potato soup, Worcestershire sauce, milk and Creole seasoning. Mix well with a whisk.


Pour over the cheese and carefully try to evenly spread.
Cover with aluminum foil and bake in the oven for 1-½ Hours.
Remove from the oven, remove the foil and sprinkle the fried onions on the top.


Place under a broiler for a few minutes to brown.

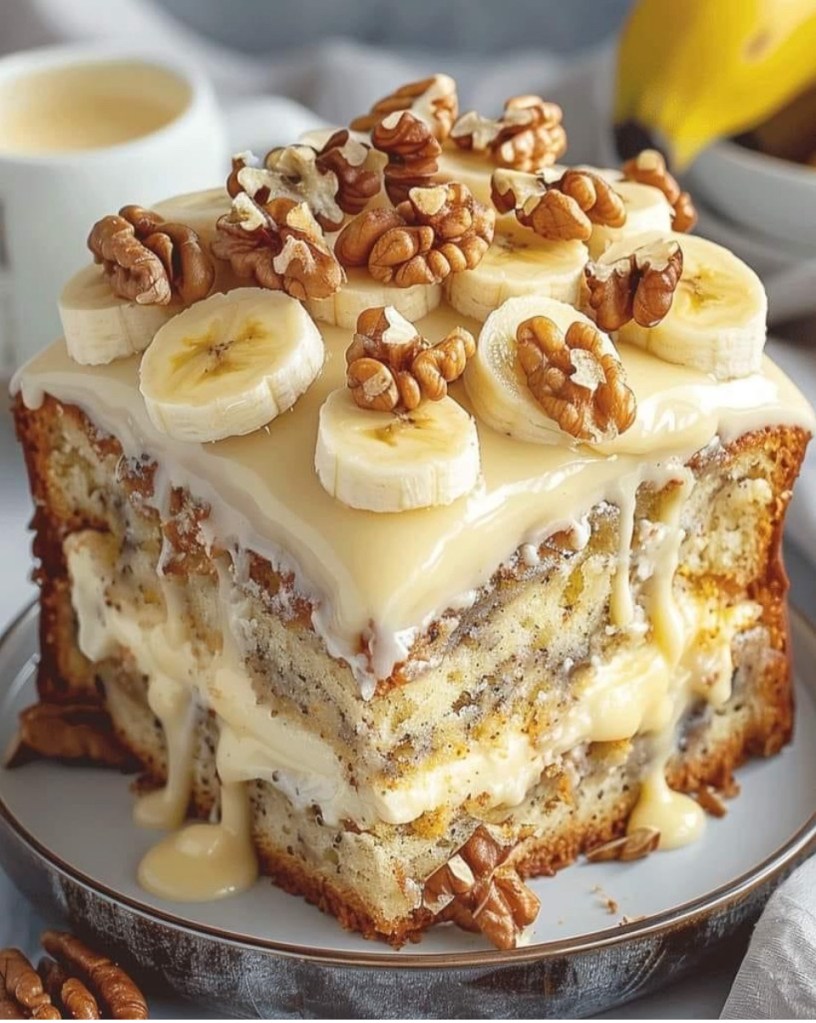
Heavenly Banana Walnut Cream Cake


Ingredients:
2 cups all-purpose flour
1 teaspoon baking soda
1/2 teaspoon salt
1/2 cup unsalted butter, softened
1 cup granulated sugar
2 large eggs
1 teaspoon vanilla extract
1/2 cup sour cream
3 ripe bananas, mashed
1/2 cup chopped walnuts
1/2 cup white chocolate chips
2 cups creamy custard (for filling and topping)
1 banana, sliced (for garnish)
1/4 cup whole or halved walnuts (for garnish)
Directions:

Preheat your oven to 350°F (175°C). Grease and flour two 8-inch round cake pans.
In a medium bowl, whisk together the flour, baking soda, and salt. Set aside.


In a large mixing bowl, cream together the butter and sugar until light and fluffy. Beat in the eggs one at a time, then stir in the vanilla extract.


Mix in the sour cream and mashed bananas until well combined.


Gradually add the dry ingredients to the wet ingredients, mixing until just combined. Fold in the chopped walnuts and white chocolate chips.


Divide the batter evenly between the prepared cake pans.


Bake in the preheated oven for 30-35 minutes, or until a toothpick inserted into the center comes out clean.


Let the cakes cool in the pans for 10 minutes, then turn them out onto a wire rack to cool completely.


Once the cakes have cooled, spread half of the creamy custard over the top of one layer. Place the second layer on top and spread the remaining custard over the top.


Garnish with banana slices and whole or halved walnuts. Serve immediately or refrigerate until ready to serve.


Prep Time: 20 minutes | Cooking Time: 35 minutes | Total Time: 55 minutes
Kcal: 500 kcal per slice | Servings: 8 servings

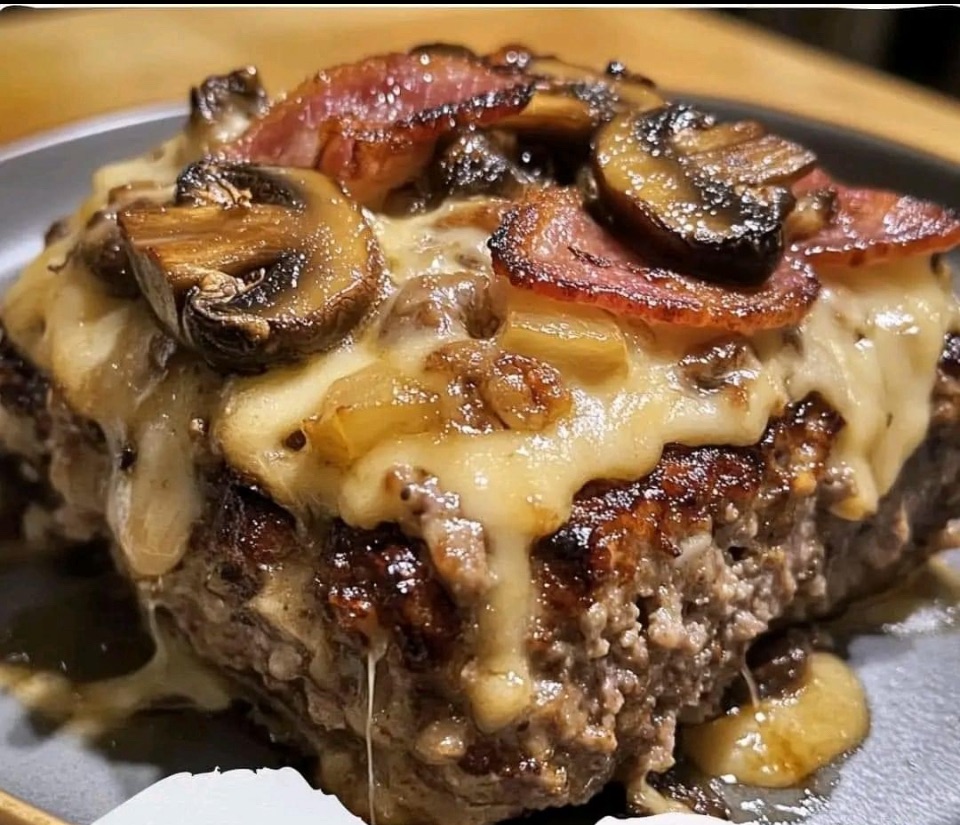
Bacon Mushroom Swiss Cheese Meatloaf

Bacon Mushroom Swiss Cheese Meatloaf

Ingredients:
1 pound ground beef
1/2 pound ground pork
1 cup breadcrumbs
1/2 cup milk
1/2 cup grated Parmesan cheese
1/2 cup finely chopped onions
1 cup finely chopped mushrooms
4 slices bacon, cooked and crumbled
1 cup shredded Swiss cheese
2 large eggs
1 tablespoon Worcestershire sauce
1 tablespoon ketchup
1 teaspoon garlic powder
1 teaspoon dried thyme
1/2 teaspoon salt
1/2 teaspoon black pepper
1/2 cup ketchup (for topping)


Directions:
Preheat Oven:
Preheat your oven to 375°F (190°C).


Prepare Ingredients:
In a skillet, cook the bacon until crispy, then crumble it. Sauté the chopped onions and mushrooms in the same skillet until the mushrooms are tender and the onions are translucent. Set aside to cool.


Mix Meatloaf:
In a large bowl, combine the ground beef, ground pork, breadcrumbs, milk, Parmesan cheese, cooked bacon, shredded Swiss cheese, sautéed onions, and mushrooms. Add the eggs, Worcestershire sauce, ketchup, garlic powder, dried thyme, salt, and black pepper. Mix everything together until well combined, but be careful not to overmix.


Shape and Bake:
Shape the meat mixture into a loaf and place it in a baking dish or on a lined baking sheet. Spread the additional 1/2 cup of ketchup evenly over the top of the meatloaf.


Bake:
Bake in the preheated oven for 60-70 minutes, or until the internal temperature reaches 160°F (71°C) and the meatloaf is cooked through.


Rest and Serve:
Allow the meatloaf to rest for 10 minutes before slicing. This helps the juices redistribute and makes slicing easier.


Serve:
Serve warm with your favorite side dishes!


Prep Time: 20 minutes

Cook Time: 60-70 minutes

Total Time: 1 hour 30 minutes

Servings: 6

Orange-Vanilla Yellow Cake

Creates a delightful homemade alternative to store-bought orange-vanilla cake mix that is made from scratch using fresh ingredients such as flour, sugar, eggs, real orange zest, and vanilla extracts. This homemade version allows for a more personalized and flavorful cake mix, without the need for artificial additives or preservatives.

INGREDIENTS :

  • 2/3 cup of non-bleached flour
  • 2/3 cup of organic yogurt
  • 1 large organic egg
  • 1 teaspoon organic vanilla extract
  • 1/4 teaspoon salt (optional)
  • 1/4 teaspoon baking soda
  • 2 tablespoons of organic coconut oil
  • 1/2 cup natural/organic sugar or organic maple syrup
  • 2-3 tablespoons fresh grated orange zest

Instructions:

First, mix egg and vanilla. Second, add yogurt and coconut oil. mix well

Add sugar, salt, baking soda, and flour in a medium-sized bowl.

Mix till all lumps are gone. Add orange zest last.

Prepare cake pan. brush with olive oil and line with parchment paper

Pour the mixture into the (8 inch x 8 inch) baking pan.

Preheat oven to 350 degrees Fahrenheit

Bake for 30-35 minutes till top is golden brown.

Place on a cooling tray, and serve cooled with vanilla-orange icing.

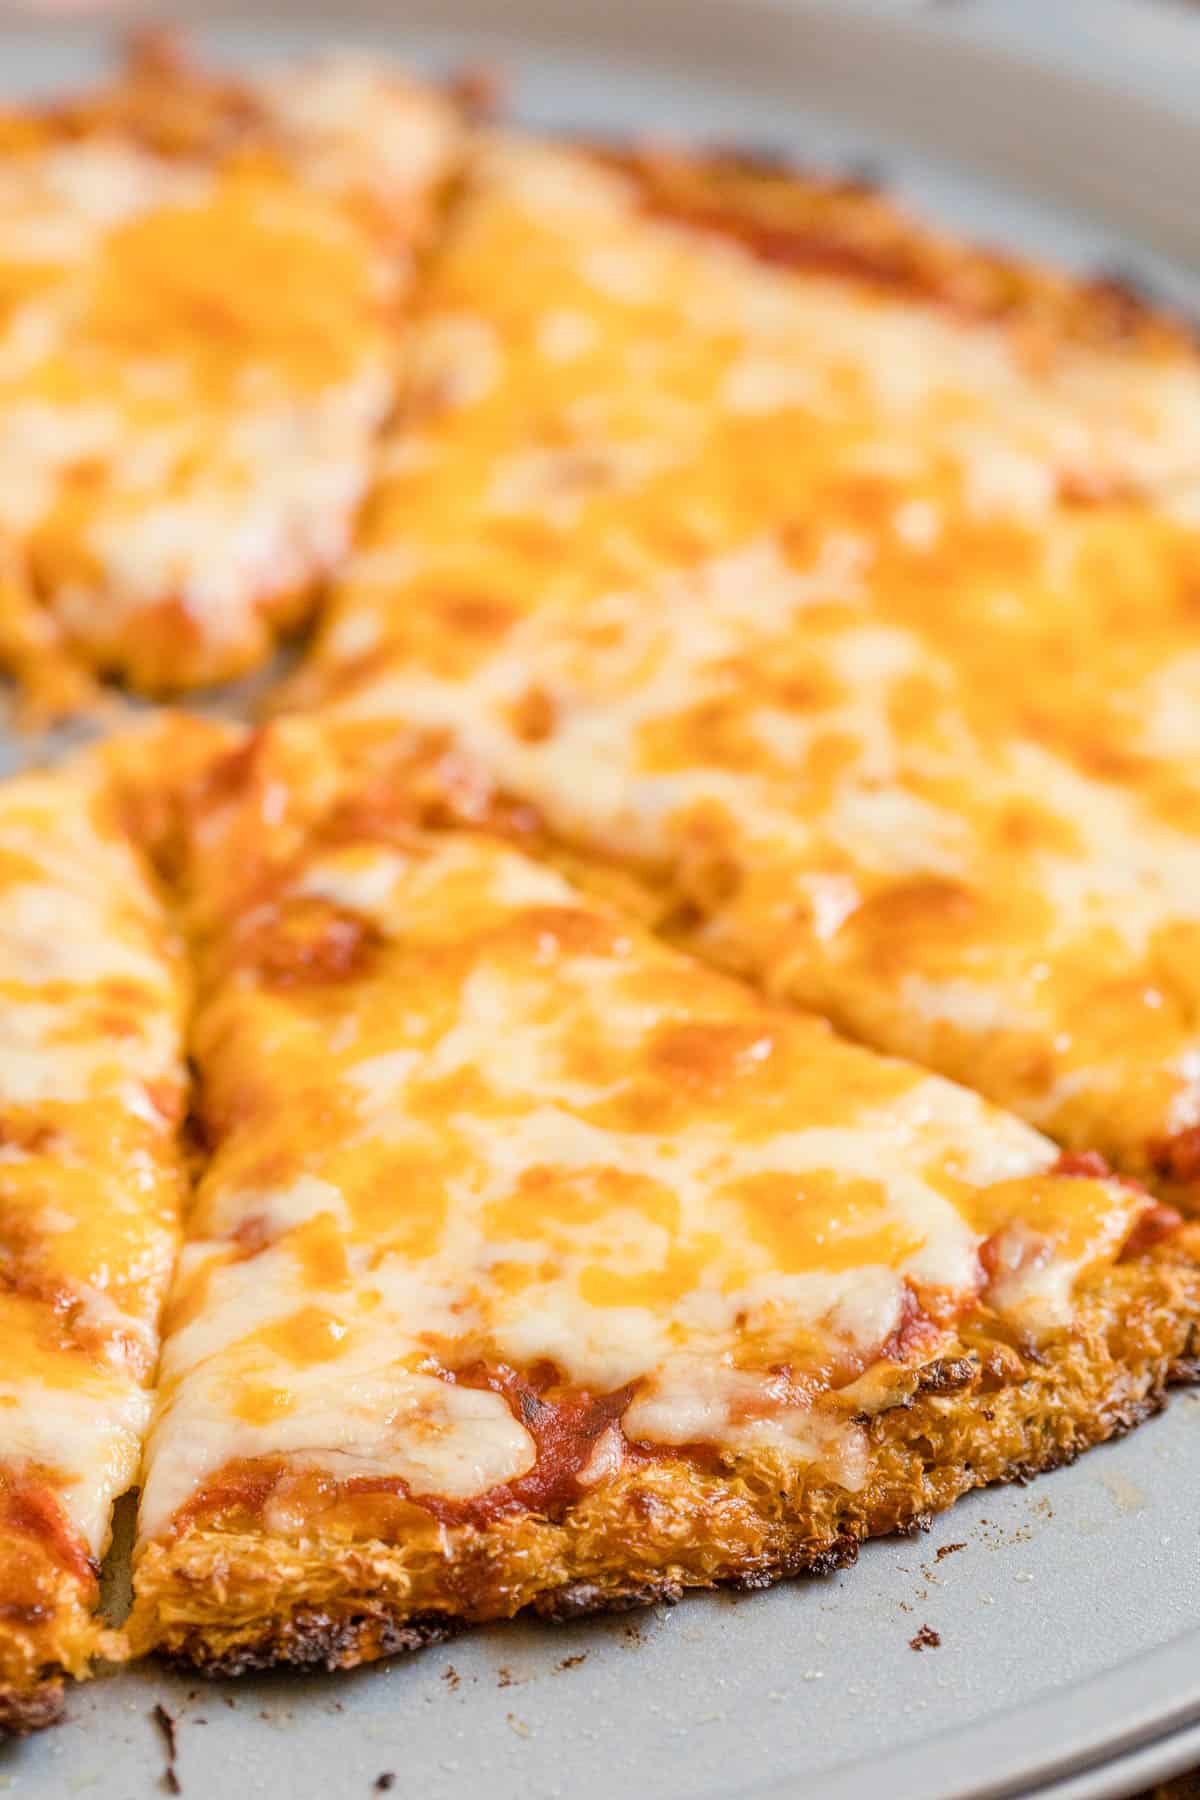
CAULIFLOWER PIZZA CRUST

Make the best cauliflower pizza crust with this simple and easy recipe! Delicious low-carb and keto-friendly!

INGREDIENTS 

  • 1 pound cauliflower florets (or thawed from frozen; see notes)
  • 1 large egg , beaten
  • ⅓ cup soft goat cheese (or grated Parmesan)
  • 1 teaspoon dried oregano
  • ¼ teaspoon salt
  • INSTRUCTIONS
  • Preheat the oven to 400ºF. If the cauliflower isn’t already riced, add the cauliflower florets into a food processor and pulse briefly, until it has a rice-like texture. Line a large baking sheet with parchment paper, then spread the cauliflower rice out in a single layer. Bake for 15 minutes, or until the cauliflower is tender.
  • If you’re using frozen cauliflower, be sure that it is completely thawed, and process it into a rice-like texture using a food processor. (Alternatively, you can start with frozen cauliflower rice that has been thawed, to skip the food processor step.) There is no need to cook thawed frozen cauliflower so it will save you time! Tip: You can use up to 1 ½ pounds of cauliflower if you want to use two 12-ounce bags. This crust will still hold together well!
  • Once the riced cauliflower has been cooked (or thawed), transfer it to a clean, thin dishtowel. Wrap up the steamed rice in the dishtowel, twist it up, then SQUEEZE all the excess moisture out! (Be careful if your cauliflower is still hot; let it cool before handling.) A lot of extra liquid will be released, which will help you avoid a soggy pizza crust.
  • In a large bowl, mix up the squeezed-out rice, egg, cheese, oregano, and salt. It won’t be like any pizza dough you’ve ever worked with, but don’t worry, it will work!
  • Press the dough out onto a baking sheet lined with parchment paper. (It’s important that it’s lined with parchment paper, not wax paper, or it will stick.) Keep the dough about 1/4-inch thick. Wet your hands to prevent sticking, if needed.
  • Bake for 30 minutes at 400ºF or until the top looks dry and golden.
  • Add your favorite pizza toppings to the crust, such as sauce and cheese, then return the pizza to the 400ºF oven. Bake an additional 5-10 minutes, just until the cheese is hot and bubbly. Slice and serve warm.

Roadhouse Keto Rolls

Roadhouse keto rolls are a delicious low-carb alternative to traditional bread rolls. Made with almond flour and other keto-friendly ingredients, these rolls are perfect for anyone following a ketogenic diet or looking to reduce their carb intake. They are light and fluffy, with a slightly nutty flavor that pairs well with a variety of toppings.

One of the best things about roadhouse keto rolls is that they are easy to make at home. With just a few ingredients and a bit of baking time, you can have fresh, warm rolls ready to enjoy in no time. They can be served as a side with a hearty stew or soup, or even used as sandwich buns for a tasty lunch or dinner option.

Whether you are following a strict ketogenic diet or simply want to cut back on carbs, roadhouse keto rolls are a convenient and delicious option. They offer all the satisfaction of traditional bread without the guilt of too many carbs. So next time you’re craving a warm, fluffy roll, give these keto-friendly roadhouse rolls a try – you won’t be disappointed!


Ingredients:
1 cup almond flour
2 tsp baking powder
1/2 tsp salt
2 large eggs
1/4 cup melted butter
1/4 cup sour cream
1/4 cup shredded cheddar cheese
1 tbsp chopped fresh parsley


Instructions:
Preheat the oven to 375°F.
In a mixing bowl, whisk together the almond flour, baking powder, and salt.
Add the eggs, melted butter, and sour cream to the bowl and stir to combine.
Mix in the shredded cheddar cheese and chopped parsley.
Using a cookie scoop or spoon, drop 8-10 portions of the dough onto a baking sheet lined with parchment paper.
Bake the rolls for 15-18 minutes, or until lightly golden brown on top.
Brush the rolls with melted butter before serving.
Enjoy your delicious Roadhouse Keto Rolls!

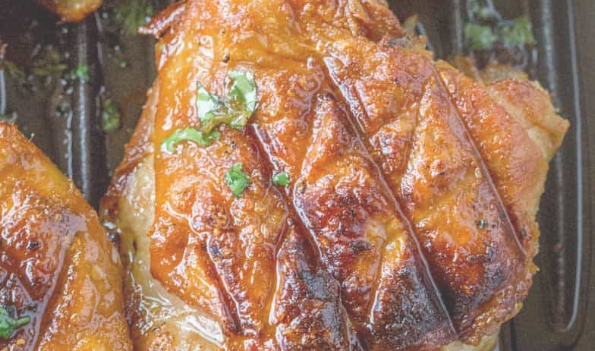
El Pollo Loco (copycat)

El Pollo Loco is known for its delicious flame-grilled chicken that is marinated in a special blend of herbs, spices, and citrus juices. The chicken is cooked over an open flame, which gives it a unique smoky flavor and juicy, tender texture.

Ingredients 

  • 1 tablespoon white vinegar
  • 2 cloves garlic minced
  • 1/2 teaspoon Kosher salt
  • 1/2 teaspoon dried oregano
  • 1/4 teaspoon ground pepper
  • 1/4 jalapeno seeded and minced very finely
  • 1 cup pineapple juice
  • 2 tablespoons lime juice
  • 1 tablespoon canola oil
  • 8 chicken thighs bone in and skin on

Instructions

  • Mix up all the ingredients except for the chicken into a large bowl.
  • Whisk well then reserve ¼ cup of the marinade in a small tupperware.
  • Add the chicken to the bowl and cover with plastic wrap.
  • Marinade overnight.
  • Preheat your oven to 425 degrees.
  • In a cast iron grill pan add the chicken skin side up.
  • Cook in the oven for 25 minutes.
  • Using potholders, add the pan to the stove-top on medium high heat.
  • Spray some foil with canola oil spray and put sprayed side down over the top of the chicken.
  • Press onto the meat with either a bacon press, a foil wrapped brick or a second heavy pan (I used my normal cast iron skillet on top of the chicken.
  • Spoon half the reserved marinade over the chicken while it cooks.
  • Cook for another 3 minutes then remove the bacon press/brick, flip chicken (add some more marinade) and cook a final three minutes before serving.

Notes

In the authentic recipe yellow food coloring is added. This adds nothing to your dish, but if you want to add it, use 6 drops.

Nutrition

Serving: 1g | Calories: 281kcal | Carbohydrates: 4g | Protein: 18g | Fat: 20g | Saturated Fat: 5g | Cholesterol: 110mg | Sodium: 233mg | Potassium: 270mg | Sugar: 3g | Vitamin A: 90IU | Vitamin C: 4.9mg | Calcium: 16mg | Iron: 0.9mg

Ted’s Cassava Flat Bread

Ted’s Cassava flatbread is a versatile and delicious alternative to traditional wheat-based bread. Made from cassava flour, this gluten-free option is perfect for those with dietary restrictions or sensitivities. The flatbread has a light and fluffy texture, making it a great base for a variety of toppings or fillings.

One of the benefits of cassava flatbread is its nutritional profile. Cassava is a good source of carbohydrates, fiber, and vitamins such as vitamin C and folate. This makes it a great choice for those looking to add more variety to their diet while still meeting their nutritional needs.

Overall, cassava flatbread is a delicious and nutritious option for those looking to switch up their bread game. Whether enjoyed on its own as a snack or used as a base for sandwiches or pizzas, cassava flatbread is sure to become a staple in any kitchen.

  • 1 cup cassava flour
  • 1/2 teaspoon cream of tartar
  • 1/4 teaspoon baking soda
  • 1/4 teaspoon salt
  • 2 tablespoon Coconut oil
  • 1-2 3/4 cup of warm water

Whisk together all dry ingredients in large mixing bowl. Add coconut and rub into flour with your hands until crumbly. add warm water and mix with spoon until dough feels well hydrated.

let sit for ten minutes till dough is firm and springy.

Next preheat skillet over medium heat.

Portion about two tablespoons into balls.

Using a tortilla press and line with two pieces of wax paper, and flatten round ball.

Place flat breads into hot pan, one at a time and fry till light brown on each side (2-3 minutes)

Use immediately or wrap in plastic wrap and refrigerate.

I sometimes freeze mine and use coconut oil and fry them . Warning use protective eye-wear at all times when frying.

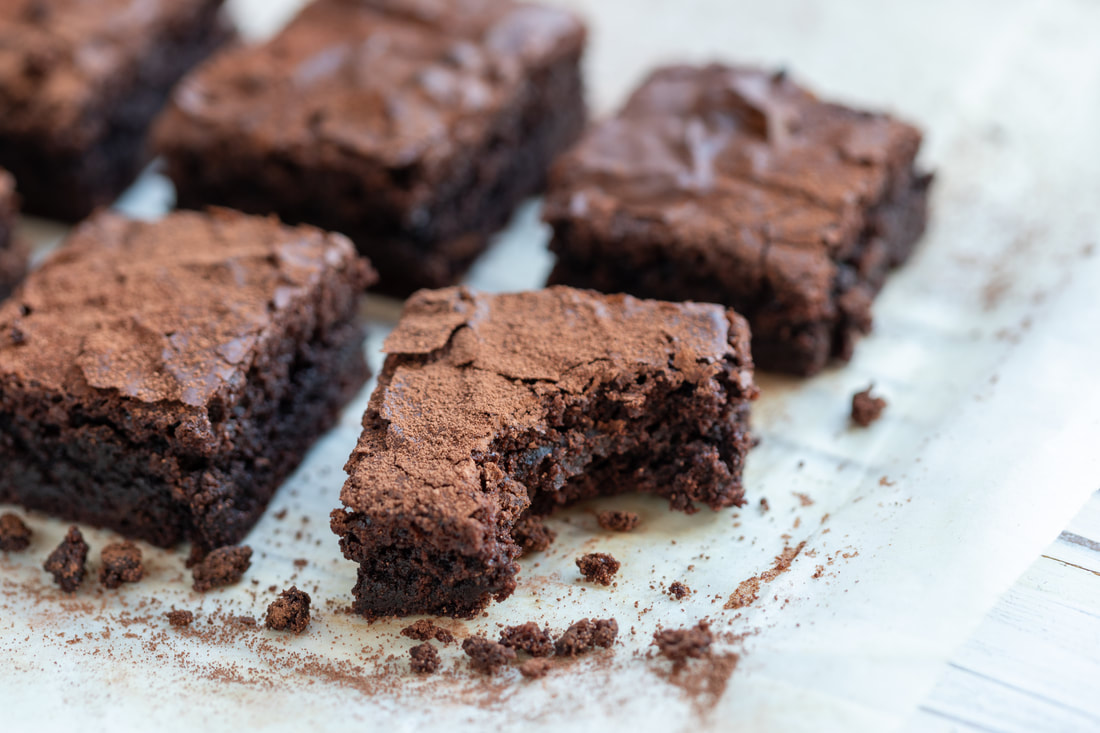
Cassava Brownies

Cassava brownies are a delicious twist on a traditional chocolate dessert. Instead of using traditional flour, these brownies are made with cassava flour, which is a gluten-free, grain-free alternative that adds a unique flavor profile to the dessert. The cassava flour gives the brownies a slightly denser texture and adds a subtle sweetness that pairs perfectly with the rich, chocolatey flavor.

One of the benefits of using cassava flour in brownies is that it is rich in fiber and essential nutrients like vitamin C, manganese, and magnesium. This makes cassava brownies a healthier alternative to traditional brownies, allowing you to indulge in a sweet treat without compromising your nutritional goals. Additionally, cassava flour is a great option for those with gluten sensitivities or allergies, allowing them to enjoy a decadent dessert without any adverse reactions.

Overall, cassava brownies are a delicious and nutritious dessert option that adds a unique twist to a classic treat. With their rich, chocolatey flavor and dense texture, these brownies are sure to satisfy your sweet tooth while also providing a good dose of beneficial nutrients. Whether you have dietary restrictions or simply want to try something new, cassava brownies are a fantastic option that is sure to impress even the most discerning dessert connoisseurs.

Delicious brownies gluten free !

Ingredients:

3/4 cup Dark Chocolate Chunks (divided)

1/2 cup maple syrup

1/4 cup coconut oil

1/4 teaspoon salt

1/4 teaspoon baking soda

1 teaspoon vanilla extract

2 eggs

1/4 cup cocoa powder

1/4 cup cassava flour

Preparation:

Preheat the oven to 350 f and lightly oil a 8×8 inch pan.

In a small saucepan, over low heat, melt 1/2 cup chocolate chunks, maple syrup, cocoa powder and coconut oil. Wish frequently while melting. Remove from heat and let cool to slightly warm.

While chocolate mixture cools, combine flour, salt and baking soda in a small bowl. In a medium bowl whisk eggs and vanilla until thick and foamy

Fold cooled chocolate mixture into into eggs until evenly combined. Add dry ingredients and remaining 1/4 cup of chocolate bits and fold into chocolate mixture until no streaks of flour are visible

Pour into prepared pan and smooth evenly. Bake until a toothpick inserted into the center comes out clean, about 20-25 minutes. Cool completely before slicing and serving.

Makes 9 brownies.

Castella Cake

Castella cake, also known as kasutera cake, is a popular Japanese sponge cake that has been enjoyed for centuries. It has a unique texture that is fluffy, light, and moist, making it a favorite treat for many. The origins of the castella cake can be traced back to Portuguese merchants who introduced it to Japan during the 16th century. Since then, it has been modified to suit the tastes of the Japanese people and has become a beloved dessert in the country.

The key ingredients in a castella cake are eggs, sugar, flour, and sometimes honey for added sweetness. The batter is whipped to incorporate plenty of air, which results in the cake having a delicate and airy crumb. Traditionally, castella cakes are baked in wooden molds lined with parchment paper, giving them a unique shape and appearance. The cake is then sliced into thick slices and enjoyed with a cup of tea or coffee.

In recent years, castella cakes have gained popularity worldwide as more people discover and enjoy this delicious treat. You can find variations of the traditional recipe that incorporate different flavors such as matcha, chocolate, or even fruit such as lemon or orange. Whether you enjoy it plain or with a twist, castella cake is a delightful dessert that is sure to satisfy your sweet tooth.

Ingredients:

2 tablespoons of milk

2 tablespoons of honey

4 eggs

3/4 cup of sugar

3/4 cup self-rising flour

Preparation:

1. Preheat the oven to 160º. Put baking paper in the mold and spread with a little butter.

2. Mix the honey with the hot milk and set it aside.

3. Beat the egg whites to the point of nine, gradually adding the sugar.

4. Add the beaten egg yolks little by little to the whites until stiff.

5. Add the sifted flour little by little and mix everything well.

6. Add the honey mixture with milk and stir well.

7. Pour the mixture into the mold, tap it a little to make sure there are no air bubbles.

8. Bake it in the oven until the cake detaches itself from the walls and when it touches the surface it goes down and up again (approximately 40-50 minutes).

9. Once cooked, unmold the cake upside down, keeping it like this for several hours so that it cools down, covering it with transparent film so that it does not sink or lose moisture.

10. After a few hours you can cut the cake into thick slices (about 2cm).